
DIY Tutorial: Bauble Earrings in Mint and Navy Blue

Back in middle school, my best friend and I went through a phase in which we covered everything we owned with nail polish. This is when alternative nail polish colors were just entering the scene (read:Urban Decay), so not only were our nails shellacked in putrid shades of mustard, metallic blue, and pea green, so were our hair dryers, curling irons, and ironic children's lunchboxes. I covered my entire dresser in a rainbow of candy colors. It was a monumental waste of nail polish.
However, for no good reason I decided to use this same technique on a pair of earrings I made to match my refashioned dress, using mint as the final complementary color. The result was a fun pair of brightly-colored baubles that only took about 30 minutes to make.
You will need:

- 4-6 wooden beads of various sizes (you can buy a whole pack for four bucks at the craft store)
- Nail polish in desired complementary shades
- A few paper/ plastic straws or something to hold the beads in place while you paint them
- 2 medium-length headpins
- 2 French hook ear wires
- Jewelry pliers or a tough pair of scissors
Step one: paint the beads
In order to be able to cover the full surface area of each bead at the same time (i.e. without having to wait for one side to try before painting the other), I cut the paper straws in half and wedged them into the middle of the beads. That way, they didn't slip around while I painted them. It also made it much easier to prop them up while they dried. They actually looked kind of tasty sitting there... like little cocktail olives:

Step two: arrange the beads
Decide in what order you want the beads to hang, then thread the head pins through them. Just make sure you put a smallish bead at the bottom so the headpin doesn't slip through.
Step three: add the ear wires
Slip the hook of the ear wire through the top end of the headpin and hold it about halfway through. Use a pair of jewelry pliers to create a loop that ends just at the top of the last bead. If you used longer head pins and have the skills, you can create a fancy wrap, but I just stuck with a simple loop and made sure the end was pressed tightly against the rest of the wire.
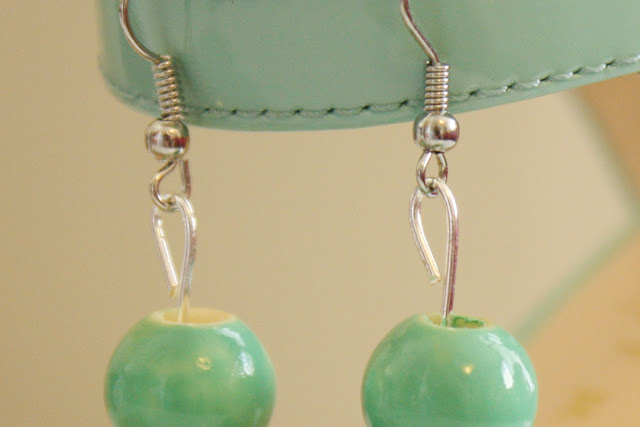
And that's it! Not the fanciest earrings in the world, but I had fun wearing them in Austin and will definitely break them out again this summer.